


Supplies:
Craft felt
Paper
Scissors
Pen or chalk
Needle and pins
Coordinating thread
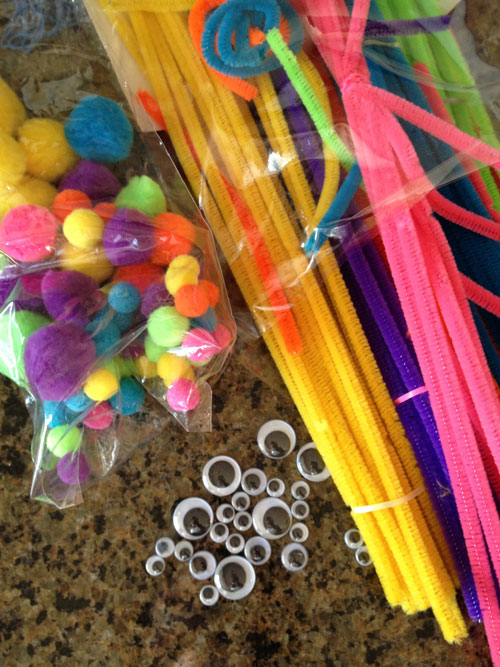
Googly eyes, pipe cleaners, buttons, etc. to make faces
Small amount of ribbon (about 2")
Keyring
Paper
Scissors
Pen or chalk
Needle and pins
Coordinating thread
Googly eyes, pipe cleaners, buttons, etc. to make faces
Small amount of ribbon (about 2")
Keyring
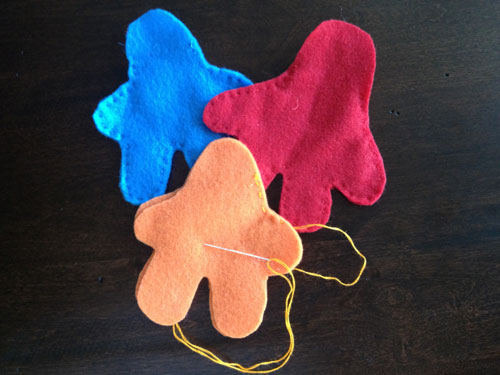
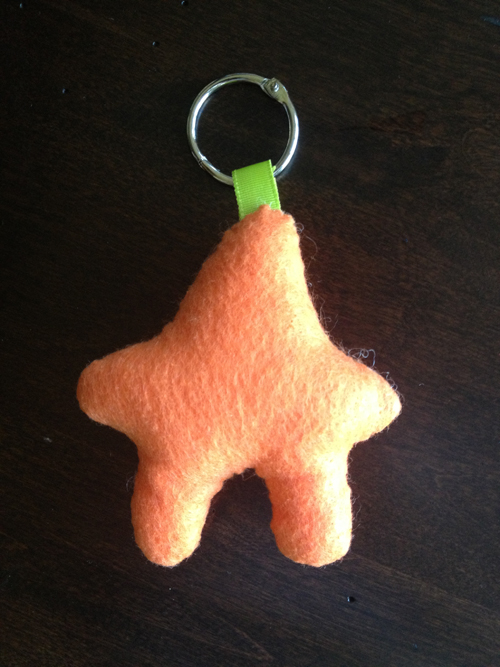
I had my son design his monsters on a piece of paper first. I streamlined his body design and cut it out to make a pattern. Then we traced the pattern onto two layers of felt with some chalk and cut the pieces out. Be sure your pattern leaves enough room between legs and under the arms to turn it right-side-out.
Next, hand sew the two pieces together with a basic running stitch, leaving a 1" opening at the head (or wherever you want the keyring to be attached). This is a great way to teach kids to sew with a needle and thread.
Turn the monster right-side-out and push out all the corners with a pencil or chopstick. Then stuff with Fiberfill stuffing, pushing it into all corners with the chopstick again.

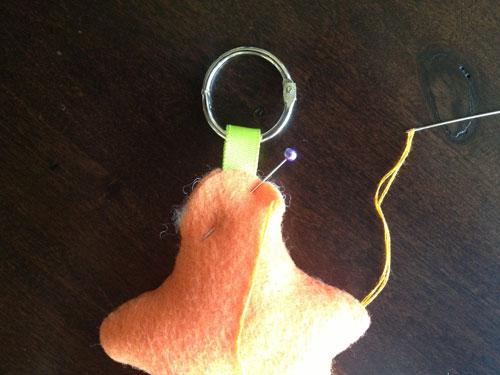
Once it's stuffed, it's time to add the keyring. Fold a small piece of ribbon in half around the keyring. Pin it inside the opening you left in the monster's head.
I helped my son with this part since it gets a little tricky. Close the opening using an invisible stitch (you can see a great tutorial here if you don't know this stitch). As you get to the ribbon, pass through it with the needle on your way to the other side of the felt, continuing with the invisible stitch. This will close the hole while securing the key chain.
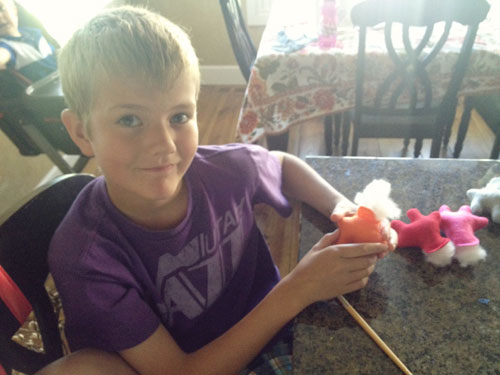
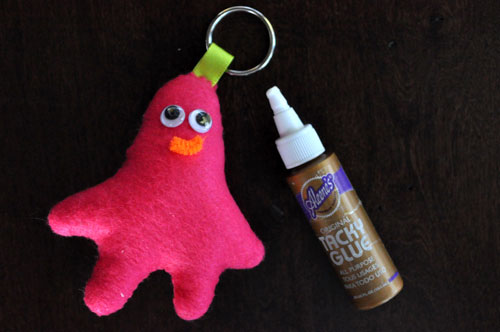
Bring your monster to life by creating a face with crafting supplies like googly eyes, pipe cleaners, buttons, etc. Use craft glue (and some patience while it dries!) to attach the facial features. This was my son's favorite part.
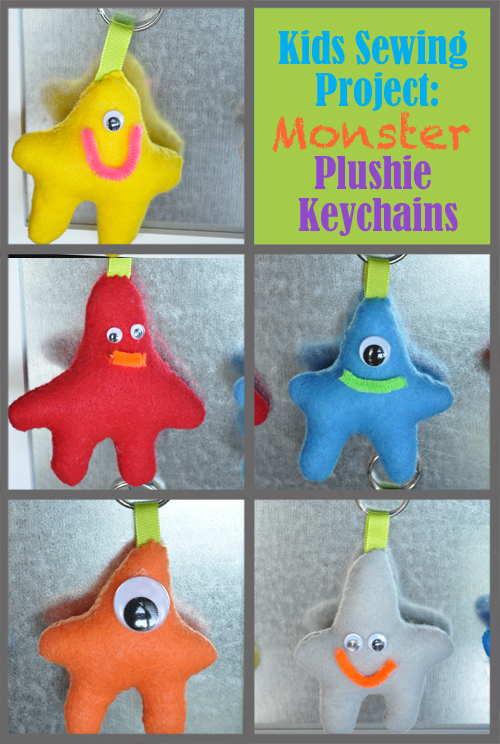
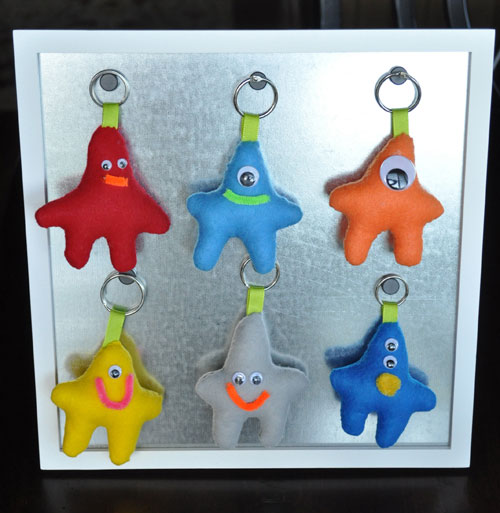
Check out all these cool monsters he created!
I hope your kiddos will find this an entertaining as my mine did! And if you're fighting the summer blahs, make sure you check out Skip to my Lou's fun summer series of 30 days of fun crafts to keep kids active and entertained this summer! You won’t want to miss a day of these fun crafts for kids from some amazing bloggers. Please be sure to pay them a visit!
share this on » |
{Facebook} | {Twitter} | {Pinterest} |


One Response to “monster plushie keychains {kids sewing project}”
These are soooo cute!!!
Post a Comment